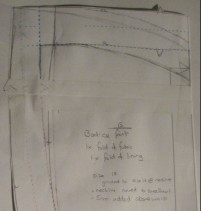
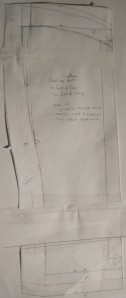
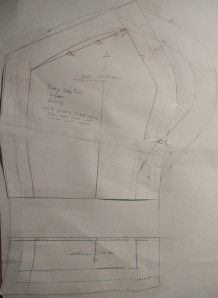
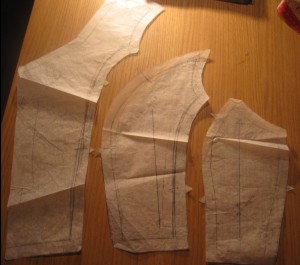
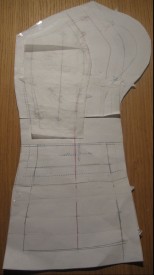
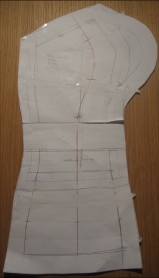
So I started with New Look 6454 pattern following my planning. I decided to treat the bodice and skirt as different entities as I still haven’t decided which style skirt to use.
Larger Seam allowances
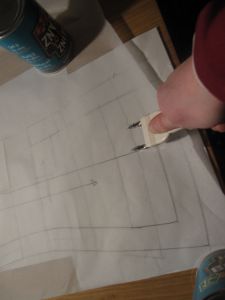 My first step was to add 1 inch seam allowances to all the pattern pieces, as recommended by Susan Khalaje. This isn’t usually something I would take the time to do, but as I know I plan to make quite a few alterations to this dress and fit it using a mock up I thought this would be a useful step to take the time to do. This was actually trickier than it first seems as the pattern does not have stitchinglines on it. In preparation I had bought a two-wheeled tracing wheel, a useful little tool, and not too expensive. The only issue I had was that my carbon paper did not transfer onto the tracing paper I usually use for patterns. As the bodice pieces are not too big I solved this by using pieces of A4 paper sticky taped together – I could not trace through them, but as this dress has very few markings that was not an issue, and the carbon paper did mark it. This is also slightly more robust than my usual tracing paper, and since I will need to cut out these pieces at least 4 times, that doesn’t seem a bad thing. So to add the inch seam allowance I first used the outside wheel to trace around the cutting line, and draw the stitching line in 1.5cm inside the cutting line with the inside wheel. Then I spread the wheel out to its widest setting (approximately an inch) and followed the stichingline with the inside wheel to draw the outside seam allowance.
For my skirt pieces, which I did use the tracing paper for, I found if I pressed hard with the tracing wheel I could make just visible marks on the paper, which I could then draw over to add the extended seam allowance.
Merge sizes
When cutting out I graded the pattern from a 14 at the (high) bustline to 18 at the hip.
Sweetheart neckline
I wasn’t too sure how much I needed to curve the upper edge of the bodice neckline to add a sweetheart neckline. So I just added a slight curve, then decided I would have to look at it on my mockup to be able to make judgement on whether it needed more.
Lengthen back
I have a long back so I lengthen the back on all my patterns – its amazing how much this improves the fit for such a simple adjustment – I just cut the pattern above the waist line and spread it by about 2.5cm (an inch).
FBA
Now for the big one – adding a FBA. I will do a tutorial on the way I do this another time. I don’t used a slash and spread method for princess seams, as it doesn’t work well for me. Instead I use my French curve to add the required fabric at the bust – this avoids altering any other part of the pattern such as the waist and hips. Then I split the front panel at the bust point and add the same length that I added to the side front panel. Two simple steps!
Splitting side front panel
For this dress I decided to take the altered side front panel and split it into two. The reason for this is that in my experience princess seams can look a little boxy for those with a really full bust – the reason for this is easy to explain – a really full bust spreads sideways as well as forwards. My bust extends sideways beyond the edge of my ribcage – this means that fabric with a princess seam going over the bust line actually ends up with a small gap behind the side behind the bust, hence the boxy look. Having rubbed off a RTW dress designed for a larger bust with princess seams I found this dress used two side front panels, and this prevented the boxy look. I also found this blog post online about the New Look 6454 pattern – the author has also split the side front panels in two, although she doesn’t explain why. Searching the internet on this topic did not provide any further information on this topic, but I decided to go with my gut instinct to split the panel for a better fit. Splitting the panel was pretty simple – I used the principles from Assembil How Patterns Work (one of my newest books).
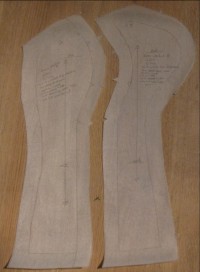
Step 3: trace the new pattern pieces and add seam allowances (leaving the original whole in case I need to rethink later)
Dropped waist
The final alteration I wanted to make was to drop the waist seam onto my hips – for some reason I find a dropped waist more flattering and more comfortable. I don’t know why, but I follow my instincts (and the wedding dress I tried on in a shop had a dropped waist, so I must be onto something). To do this I took a guesstimate about how much lower than my waist I wanted the seam to be (about 15cm) then compared this to where the seam currently was. Then I took the skirt and bodice pieces together aligned at the stitching line. I measured from the marked waist down to where I wanted the new seam to be and added this as a new lower seam line on the bodice piece, adding the seam allowance around this new stitching line. Then I did the same to the skirt piece – marking the new lower top seam line and adding a seam allowance around this. By doing it this way rather than just drawing lines down from the waist I preserved the flare of the pattern for my hips, and the proportions and fit of the pattern (hopefully). I was amused to notice that the finished front bodice piece was nearly twice as long as the original between the lengthened back, dropped waist, and FBA – fingers crossed it fits.
Skirt – full
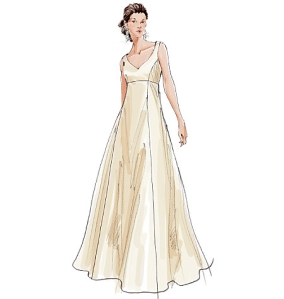 Apart from the changes to the hip/waist seamline I did not make any changes to the pattern skirt with gores. However I also wanted to try a fuller rounded skirt with my mockup to choose between the two styles. As I only wanted to make and fit one bodice I decided (? had to?) to make a bit of a frankenpatten. This was based on the shape of the altered New Look 6454 skirt to preserve the new dropped waist seam. Then I took Vogue 2788 which was one of the other patterns I considered using as the basis of the dress, and used the skirt pieces to add fullness below the hips. Although I did not used Vogue 2788 religiously, as I did not want the gathering at the back. As I said – a frankenpattern, I am not sure how it will work.
We shall see. Next step to cut and fit the mockup.

